Assignment 2: The Ferrari 250 gto
Project 2 description
As a team students will create a scale template for a Ferrari 250 gto and then divide it into equal portions. As individuals they will create an aluminium skin to adhere to their portion of it.
Group member
Jiayu Li http://jiayuli5027232.blogspot.com.au/
Shanshan Zhang http://zhangshanshan.blogspot.com.au/
Qiutong Zhang http://kiwisferrari.blogspot.com.au/
Zhenlei Yu http://zhenleiyubeil0014.blogspot.com
Qian Sha http://shaqianbeil0014.blogspot.com.au/
Ruilin Qin
step1
Download the Ferrari 250 gto model from moodle and sliced it to a waffle model by 123d. Then exported to a dwg document and setup it to suitable for laser cutting. finally cut them to pieces by laser cut machine.


step2


step3
use the masking tape to wrap the car together and this enabled us to sectionalise the car and start to creating the car parts by metal, we use black markers to map out each part of the car and each member take one part as an individual work.


step4
Then, we use piece of tracing paper to trace the shape of each part, so we can to transffered on to the metal sheet by tape the paper on the metal. Finally use scissor to cut the metal sheet to be several part of the car, in this part, should be extend the edge as the metal piece will shrink.


step5 (individual work)
after all the prepared work, i begin to create a curve shape for the front left wheel. first of all, i have to place the metal on to the Ferrari model,in order to shaping an initial edge of this part. it could be a rough shape, caused we just need to create an edge by nylon bossing mallet in this stage.


step6
Then use nylon bossing mallet to shape an hemispherical shape for the front wheel with the sand back, in this stage, u may have to use another hard hammer to shape it with shaping stand . because of there have little bit detail works like the edge.


step7
after the previous work, i already got an rouge shape of the whole part, then i need to place the metal onto the model, in order to check is that suitable of the shape. after the check work, i have to do some detail works with the edge also some inaccurate shape of the metal with small size hammer and the shaping sand.


step8


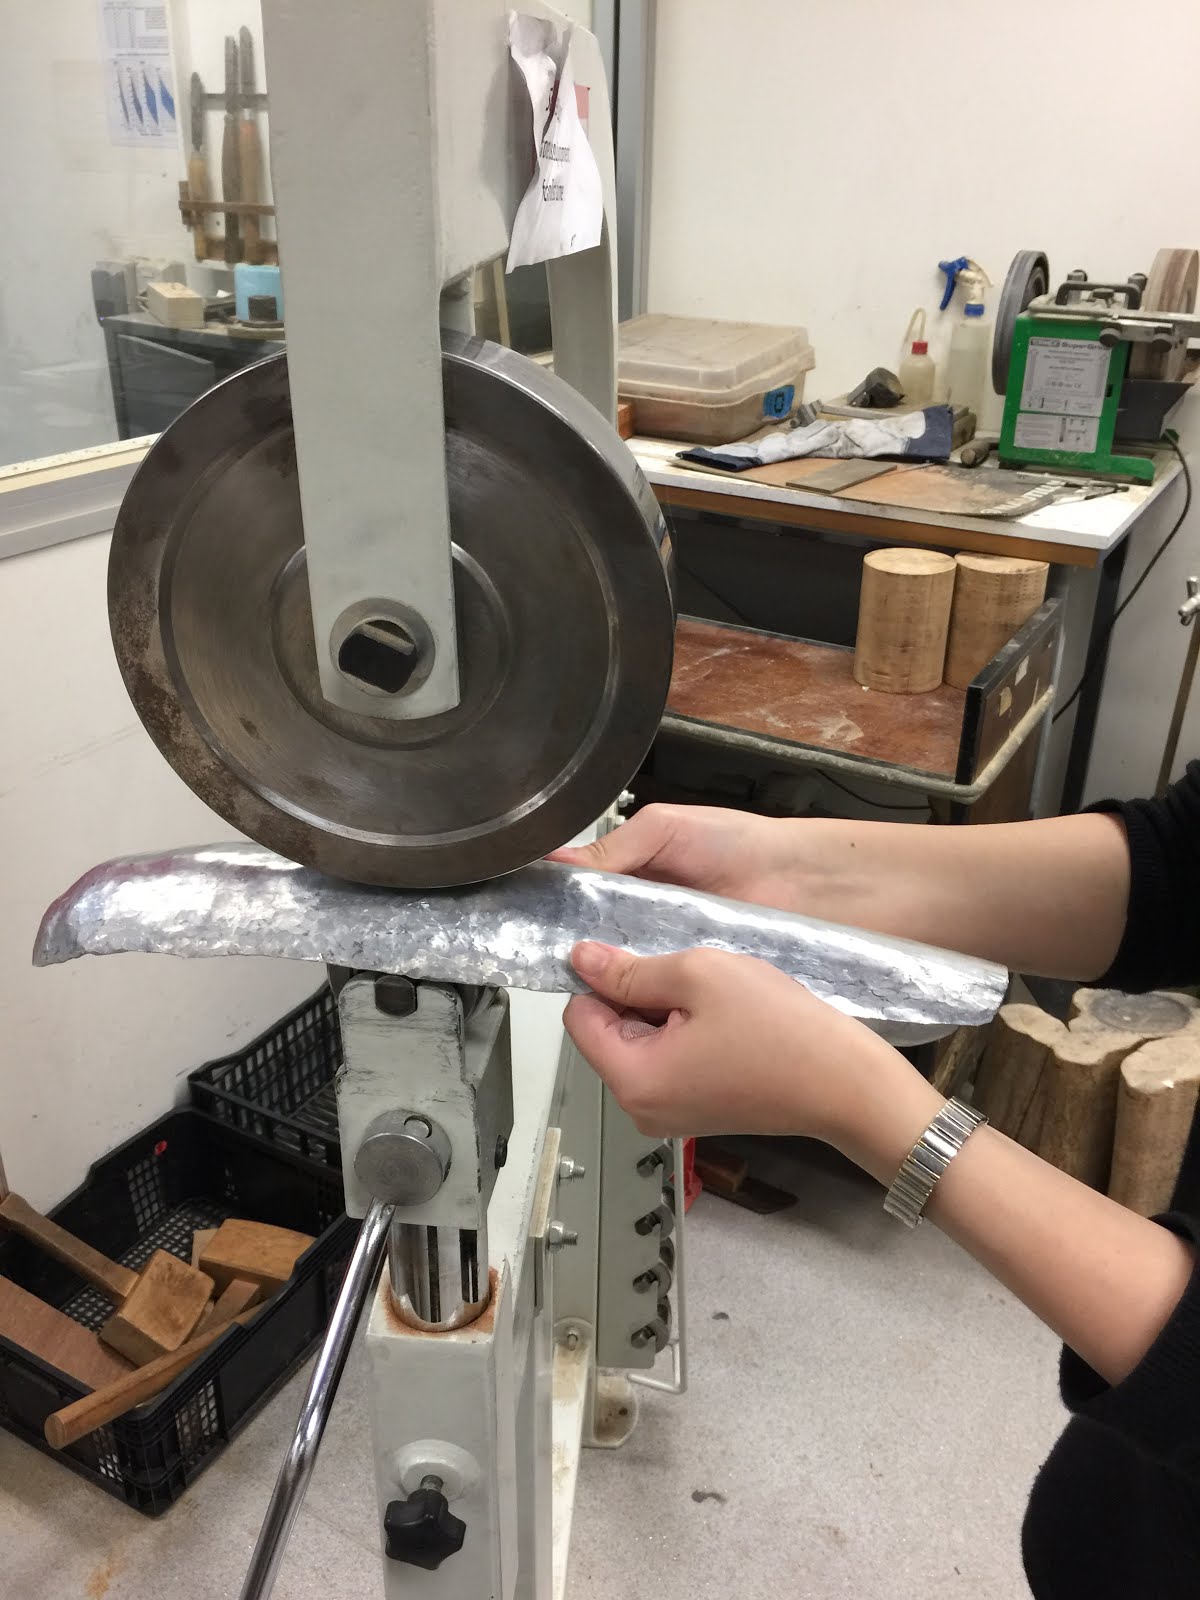


Comments
Post a Comment